Index
How to build a cabinet in Minecraft
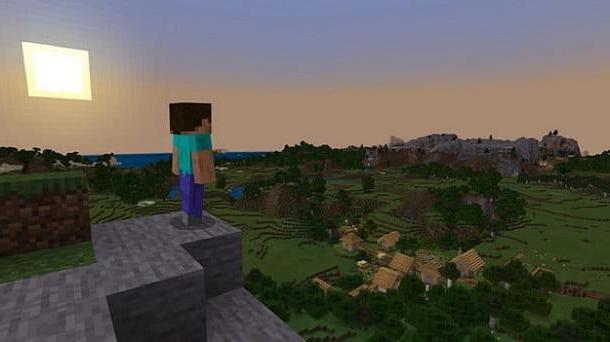
If you want to know how to build a cabinet in minecraft, in the next chapters of this tutorial I will show you how to make this project using the objects already available in the game. In detail, I'll explain how to build a trunk it's a armor stand, which will allow you to store items and armor.
Building a chest
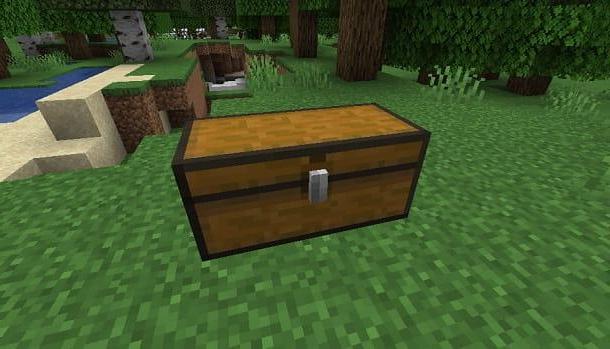
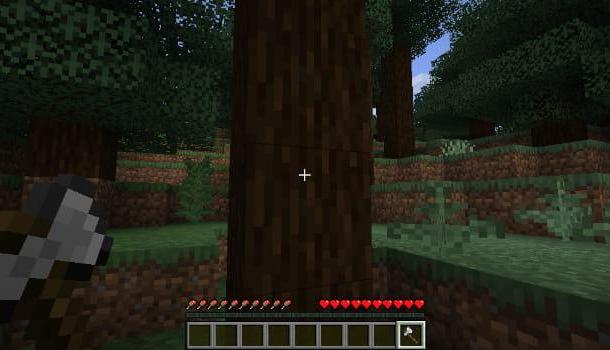
build a chest on Minecraft, what you need to do is recover the essential resources to craft this item. First, you need to get some Wooden boards: these materials can be obtained from trees by interacting on them with aax or simply a mani nude.
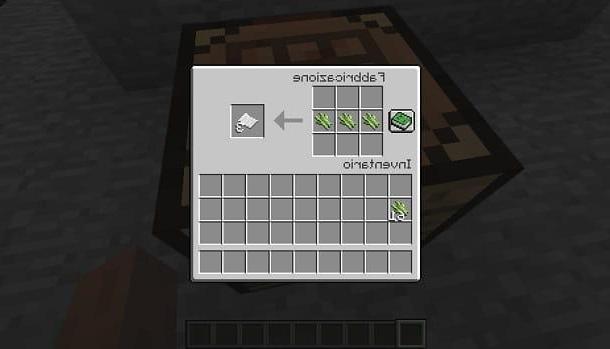
By doing so, you will get the Logs of Wood, the main resource of trees, which can be transformed into Wooden boards: to do this, in a workbench or inside the section Manufacturing inventory, enter i Logs of Wood in the appropriate slot.
At this point, on the workbench, place 8 units of Wooden Planks taking care to leave the central slot free. Now, in the right section, collect 1 unit of Chest, which you will need to equip in a quick slot to place it on the ground or in any other block.
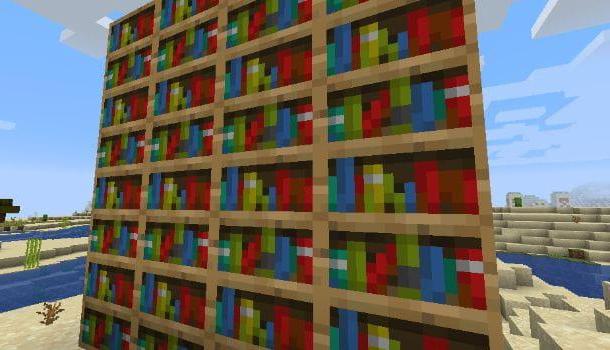
The chest you created has a total of 27 slot, but can be upgraded by placing another equal on either side of the chest. By doing so, you will get a Baule grande which will have double the capacity, that is 54 slot.
Although a trunk is not the same as a closet, know that you can try to make a wardrobe, following the same instructions I gave you in my tutorial on building a warehouse in Minecraft. In the latter, although consisting of trunks, you can also think about adding gods supports for armor, like the ones I'll tell you about in the next chapter.
Building an armor stand
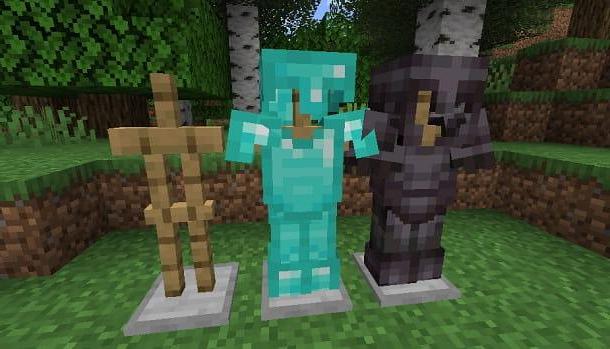
Un Armor support it is a pedestal on which it is possible to store the parts of the armature that are not used. This item does not have a slot UI, as we have seen for the chest. Therefore you can use it to expose the armor.
To manufacture a Armor support, you need two resources: the Bastone and Polished stone slab. To get the Bastone place, on a workbench, 2 units of Wooden Planks (which you can make from the wood trunks of trees).
for Polished stone slabInstead, you must first get yourself some Blocks of Stone, which you can easily extract from the underground: it is the material of which the world of Minecraft is mainly made. With that done, you need to knit these blocks into one furnace, in order to get blocks of Polished stone.
Now, to get the slabs of these smooth blocks, you have two ways to go: use a Work station or a Stonecutter. For what concern bank gives lavoro, insert in the latter 3 units of Polished Stone to derive 6 units of Polished stone slab.
If you prefer to use a Stonecutter, you need to make one in a workbench first, using 3 units of Stone Blocks e 1 unit of Iron Bar. Once obtained the Stonecutter, places the Polished stone and click on the Polished stone slab, which you find in the section in the center. By doing so, you will be able to collect the 2 units of Polished stone slab from the right slot.
At this point, you have everything you need to build a Armor support. Therefore, in a workbench, add 6 units of Staff e 1 units of Polished stone slab, so as to obtain 1 unit of Armor Support.
At this point, after placing the newly crafted object on the ground, move the armor parts to the quick slots and then, after equipping them, interact on the Armor support, in order to transfer them to it. To collect the armor, all you have to do is interact on the piece you want to get, in order to remove it from the holder and transfer it to the quick slot.
Mod to build a cabinet on Minecraft
Do you want to build a cabinet in Minecraft quickly? In this case, there are against, Such as MrCrayfish's Furniture Mod, which allow you to add furniture, including nightstands and generic furniture, to the shelter with extreme simplicity.
In order to use this mod, first you need to install Minecraft forge: it is an add-on that allows, in fact, to manage mods on Minecraft. To get it, head to its official website and pick up the version that is compatible with both the Minecraft client and the mod itself. To do this, press the button Installer.
After downloading the file .JAR of Forge, double-click on it and press the key OK, to complete the component installation. If you want to know more about how to install Minecraft Forge, I suggest you consult my guide dedicated to the subject.
With that done, it's time to download MrCrayfish's Furniture Mod on Minecraft. To do this, go to the developer's official website and press the button Downloads, to view all versions compatible with Minecraft. Then click on the one compatible with both the Minecraft client and the Minecraft Forge, and the file .JAR of the mod.
At this point, go to the Minecraft installation directory: it is located in the path C: Users [username] AppDataRoaming.minecraft on Windows e in ~/Library/Application Support/minecraft su MacOS.
Now, open the folder mods and place the file .JAR of the mod you just downloaded. If you do not find the aforementioned folder, you can also create it manually, following the advice I have given you in this guide.
Well: we're almost there! Run Minecraft, via its quick launch icon, and press the key ▼ that you find next to the button Play. At this point, select the profile Forge and by clicking on the button Play, to start the game with mod support.
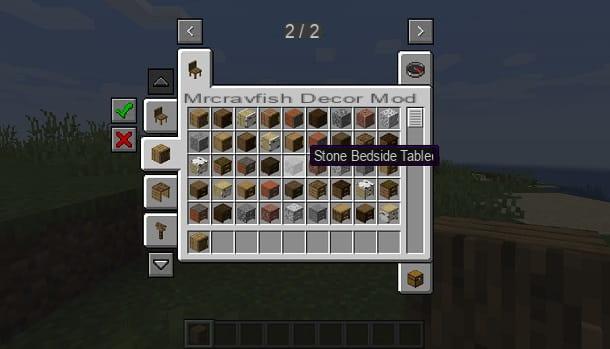
Starting a world in mode Creative and by opening the inventory of the avatar, you will be able to view the card related to the mod MrCrayfish's Furniture. Selecting the correct filter, such as Storage, you can quickly build a cabinet using i Furnishings, or you can add gods bedside. Happy?
How to make a closet in Minecraft