Make a Minecraft server on PC
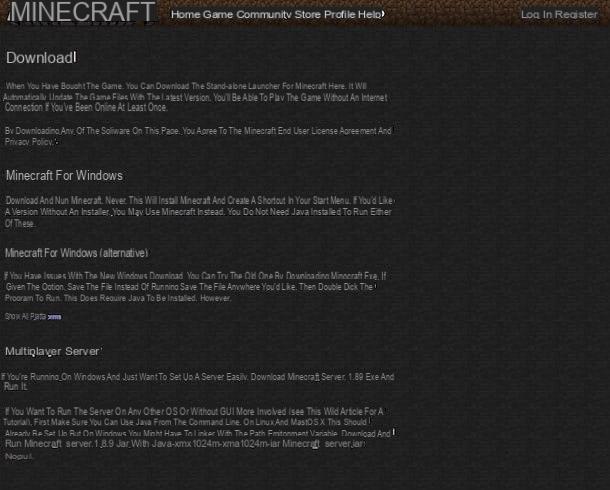
If you want to understand how to make a Minecraft server and use a PC, the first thing you need to do is connect to the website of the famous game and download the free program on your computer thanks to which you can create customized Minecraft servers. To do this, click here and once you have viewed the main web page of the game's website, press the item minecraft_server.1.8.7.exe.
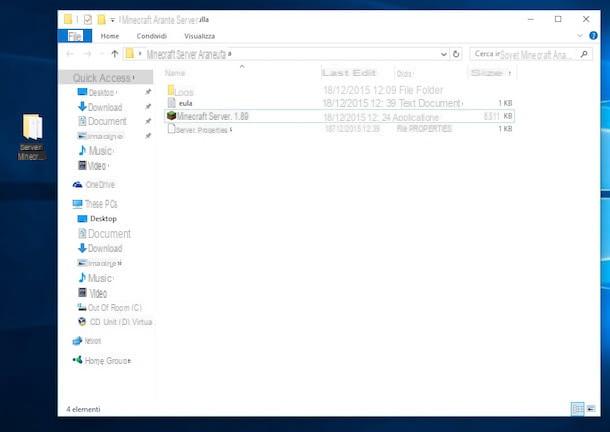
When the download is complete, move the just downloaded to a new folder in which you want to save the Minecraft server files to create. Then double-click the downloaded file to launch it. Then press on Run and wait a few moments for a series of files and directories to appear in the folder where you copied the downloaded file, which will contain the data of your server.
After these operations I can not help but tell you: accomplishments, you have just completed the first fundamental step to make a Minecraft server on Windows.
Now that you have at your disposal the folder with all the files of your personal server inside it, you also have the possibility to change its settings. To change the server settings open the file server.properties with the Block notes Windows. To do this, locate the file server.properties in the folder, double-click on it, check the item Select the program from a list of installed programs and then press on OK. Then select Block notes and by clicking on the button OK.
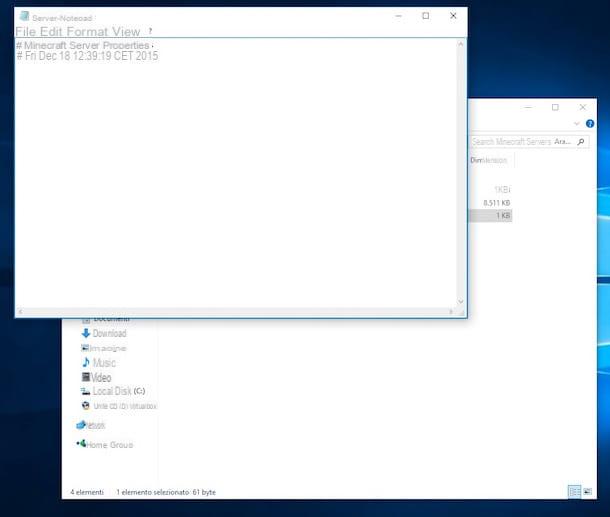
Now proceed by changing the values of the options that you find preset in the document. Depending on what your needs and preferences are, you can change the name of the level, the presence of a white list, the ability to let non-premium users play and much more.
If you have a ready-made world that you want to use on your Minecraft server, delete the folder world and replace it with the one from the world you want to use.
To apply the changes, close minecraft_server.exe and then restart it.
Now that you have finally managed to make Minecraft servers to be able to use it to play you need to host it. To host a Minecraft server you have to use LogMeIn Hamchi, a paid application also available in a free version that allows you to create servers that can be used by a total of five users at the same time.
So connect to the LogMeIn Hamachi website by clicking here and then put the check mark next to the item LogMeIn software and service are subject to US export regulations [...] which is at the bottom of the page and then click on the green button Download now to download the program to your computer.
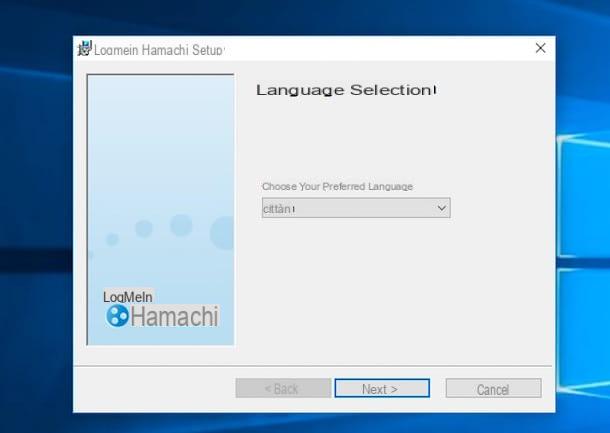
When the download is complete, double-click on the file you just downloaded and, in the window that opens, click first on Run and then Next, its NEXT, its Accept, its Installand then end to complete the installation process and start LogMeIn Hamachi.
In the LogMeIn Hamachi window that at this point is shown to you, click on the power button located at the top left to activate LogMeIn Hamachi and then select the item Network and then click Create new network from the application menu to start creating a new server. In the window that opens, type Network ID e Password to be used to access the latter and then presses the button Crea but I will complete the procedure.
Now that you have managed to make Minecraft servers on Windows and now that you have also hosted it you can finally use your creation to play with your friends. But keep in mind that to do this your friends will have to download and install LogMeIn Hamachi on their computer. Subsequently, from the program menu they must first select the item Network and then that Join existing network. Finally they will have to enter the login name and password of your network and will have to wait for the program to connect to it.
Once the connection is established, your friends will have to start Minecraft, click on the button Multiplayer, choose the option Direct access and enter the address of your server in the appropriate field. To copy the server address just right click on its name in Hamchi and select the item Copy IPv4 address give the menu visualizzato.
Make a Minecraft server on Mac
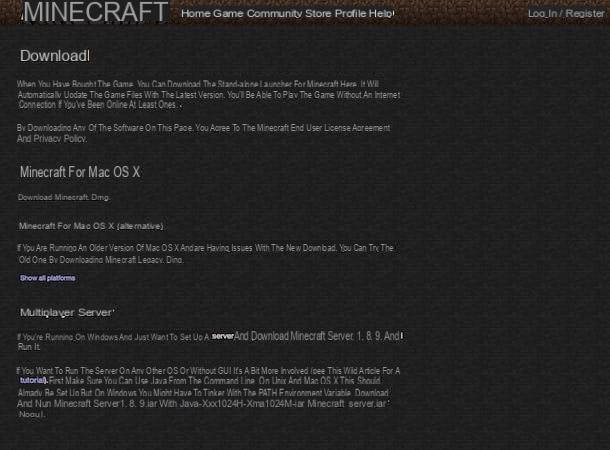
If you have a Mac and want to find out how to make a Minecraft server the first thing you need to do is click here so that you can immediately connect to the game's website. Then he presses on the voice minecraft_server.1.8.7.jar to download on your Mac the free program thanks to which you can create customized Minecraft servers.
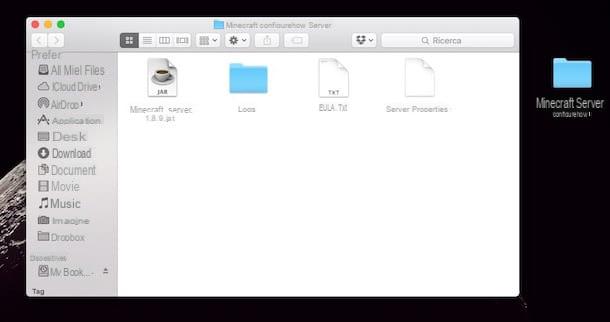
Once the download is complete take the file you just downloaded and move it to a folder where you want to save the Minecraft server files to create. Once this is done click on the file with the right mouse button, choose the item apri from the displayed menu and then presses on apri.
Now click on the icon TextEdit present on the dock (you can also access it from the Applications as well from Launchpad) and then presses the button New document in order to create a new text document.
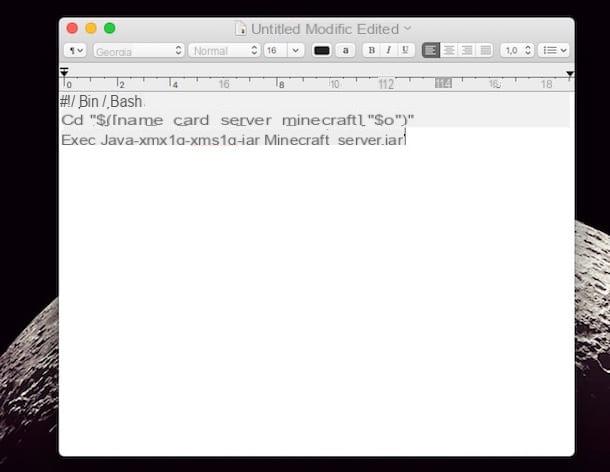
Then click on the item Size attached to the TextEdit menu bar and select the item Convert to text-only format. Then copy and paste the code you see below into the text file.
#! / Bin / bash
cd "$ ([name_your_minecraft_server_folder]" $ 0 ")"
exec java -Xmx1G -Xms1G -jar minecraft_server.jar
Finally click on the item Fillet attached to the menu bar, choose the item Save ..., assign the name start.command to the ep file oi presses on Save.
Now start terminal. If you don't know how to do it, just press on the magnifying glass located in the upper right part of the OS X menu bar, type terminal in the search field that appears and double-click the first result, the one that is shown as Il migliore.
Once Terminal is started, type the command you see below in its window, taking care to add a space after the character x.
chmod a + x
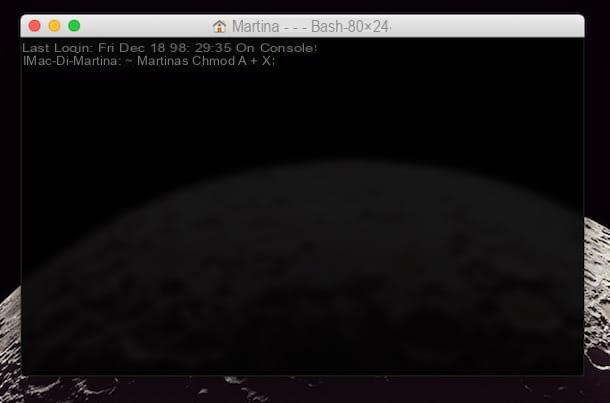
Now click on the file start.command and drag it into the Terminal window and then press the key Submit present on the keyboard of your Mac in order to save the changes made to the file.
After these operations I can not help but tell you: accomplishments, you have just completed the first fundamental step to make a Minecraft server on Mac.
However, to use the server to play you have to take another step, you have to host it. To host a Minecraft server you need to use the application LogMeIn Hamchi. Then connect to the LogMeIn Hamachi website by clicking here, put the check mark next to the item LogMeIn software and service are subject to US export regulations [...] which is at the bottom of the page and then click on the green button Download now to download the program to your computer.
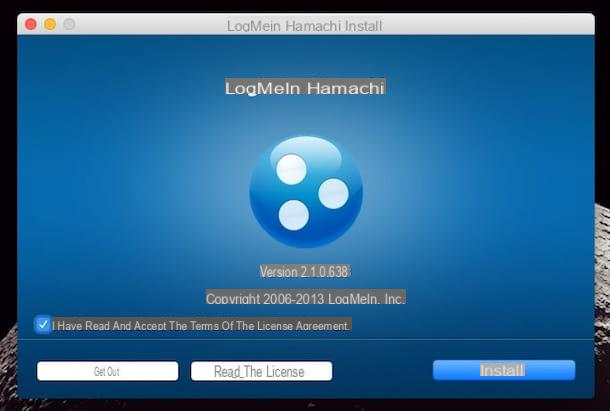
When the download is complete, click on the file you just downloaded and, in the window that opens, add the check next to the item I have read and accept the terms of the license agreement. and by clicking on the button Install to start the installation procedure and start LogMeIn Hamachi.
Once the installation of the program is complete, start it and then click on the power button located at the top left to activate LogMeIn Hamachi. Then select the item Network and then click Create new network from the application menu to start creating a new server. In the window that opens, type Network ID e Password to be used to access the latter and then presses the button Crea but I will complete the procedure.
Once you have created the Minecraft server you can finally use it to play with your friends. But keep in mind that to do this your friends will have to download and install LogMeIn Hamachi on their computer. Subsequently, from the program menu they must first select the item Network and then that Join existing network. Finally they will have to enter the login name and password of your network and will have to wait for the program to connect to it.
Once the connection is established, your friends will have to start Minecraft, click on the button Multiplayer, choose the option Direct access and enter the address of your server in the appropriate field. To copy the server address just right click on its name in Hamchi and select the item Copy IPv4 address give the menu visualizzato.
How to make a Minecraft server