Index
Gather the necessary materials
Before I talk to you about how to make a drawbridge in minecraft, it is important to indicate which materials you will need to recover to tackle the projects I will talk about in the next chapters. As they are two separate projects, you will need specific materials for each of them. Let's go in order.
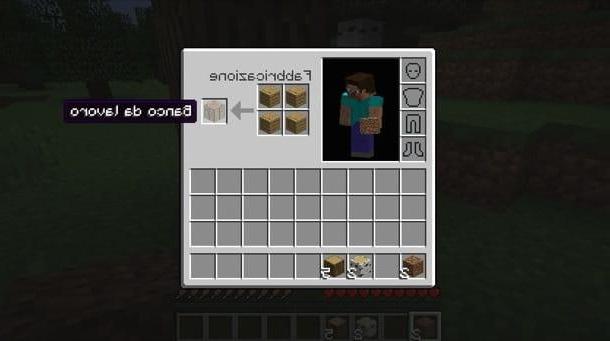
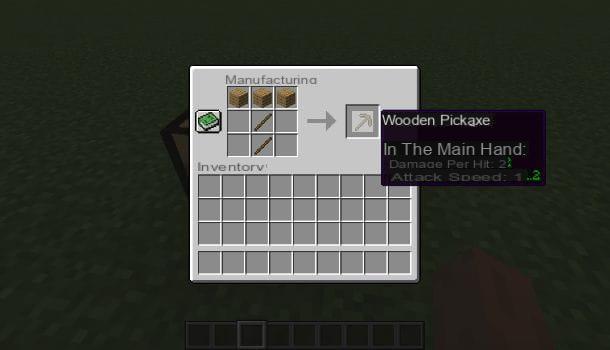
In case you want to build a realistic drawbridge which, however, you will not be able to operate in any way, you will need the wood. From the wood you will then have to make some stair blocks, wooden plates and fences, using a workbench.
As regards the stair blocks, to achieve them, they only serve 6 units of wooden planks, while for the plates only 3 units of wooden planks. For the fenceinstead, you have to use 4 units of wooden planks e 2 units of sticks, which you can also accomplish with 2 axis units.
To create the leashes (you will only need two), you need to get yourself 4 units of string e 1 unit of slime ball. The lanyard is easily found by defeating the spiders or by destroying the cobwebs; The slime ballinstead, it is obtained by defeating the Slime: creatures found underground or in swamps.
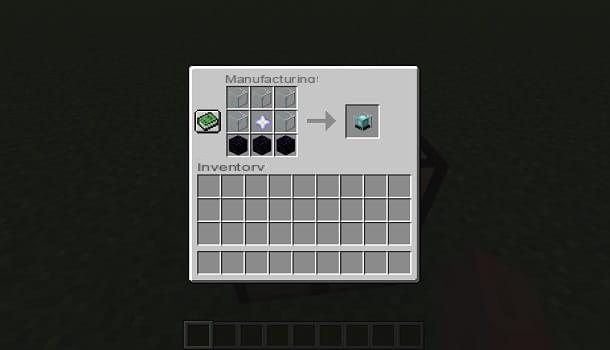
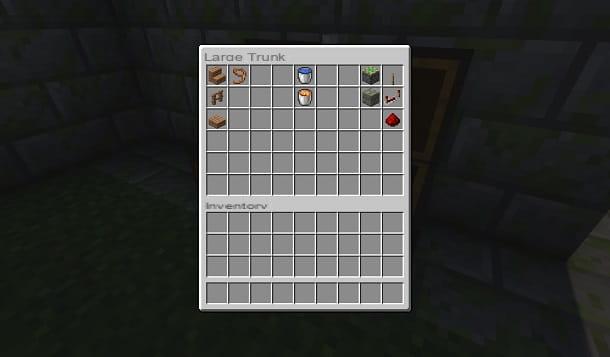
If, on the other hand, your intent is to create a automatic and working drawbridge, you must procure different resources than those indicated for the other project. First, you need gods sticky pistons, which you can obtain by joining, in a workbench, a pistone and with a slime ball. A simple piston can be made with 3 units of wooden planks, 4 units of crushed stone, 1 unit of iron ingot e 1 unit of redstone.
In addition, you will need to create gods redstone repeaters, which are obtained with 3 stone units, 1 unit of redstone e 2 units of redstone torch. The latter can be easily created with 1 unit of redstone e 1 stick unit.
La redstone, as well as being useful for making the materials I indicated in the previous paragraphs, you also need it to create the bridge activation circuit. This resource can be found underground or even in chests during your explorations.
Finally, you need one leads, useful to operate the bridge mechanism: you can create one, in a workbench, using 1 units of crushed stone e 1 stick unit. Also, build gods dry us 3 units of iron ingots, with which you have to collect water or lava to fill the moat.
Building a drawbridge
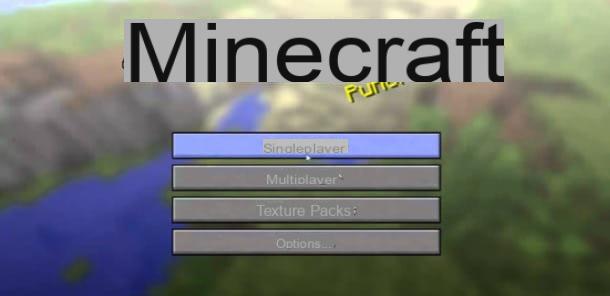
If you want build a drawbridge on minecraft, in the next lines I will explain how to carry out this project. I will show you the procedures to follow to make a realistic one, which you will not be able to operate (so you will not be able to raise or lower it on the moat in front of your shelter).
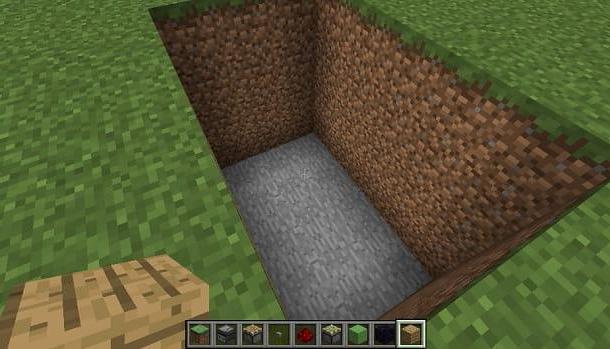
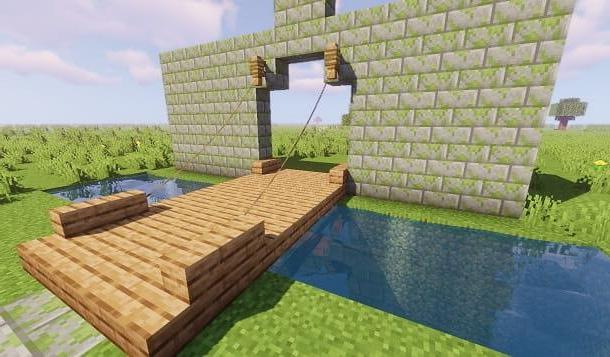
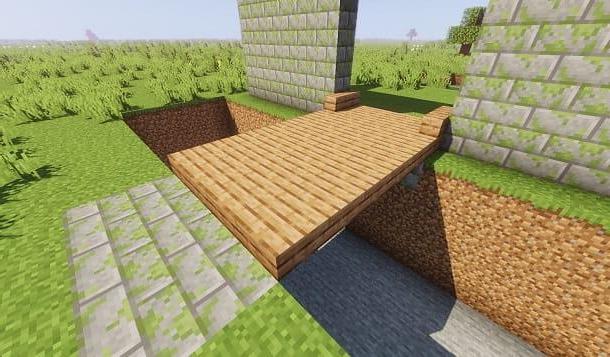
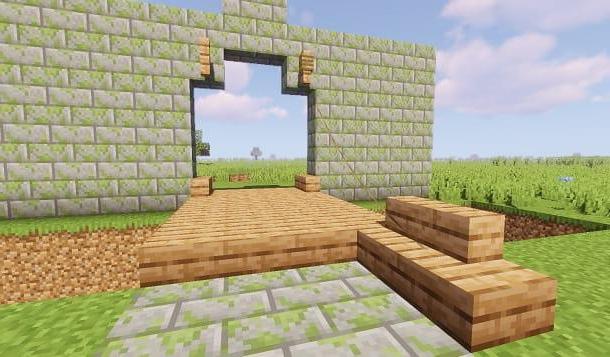
The first thing you need to do is dig a ditch (no matter how deep it is). Once this is done, place two fence units on the upper ends of the entrance to the refuge. At the fences you will then have to hook the rope, but I will tell you about it in detail later in my guide.
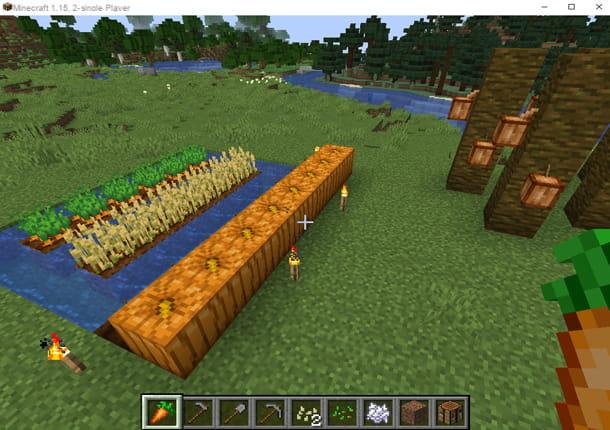
After doing this, use i wooden step blocks and those of wooden plate to build the drawbridge.
Start, therefore, from the entrance to your refuge, positioning 2 blocks of wooden steps on both sides. Once this is done, place the wooden plates for the entire length of the bridge, until you reach the opposite bank of the moat.
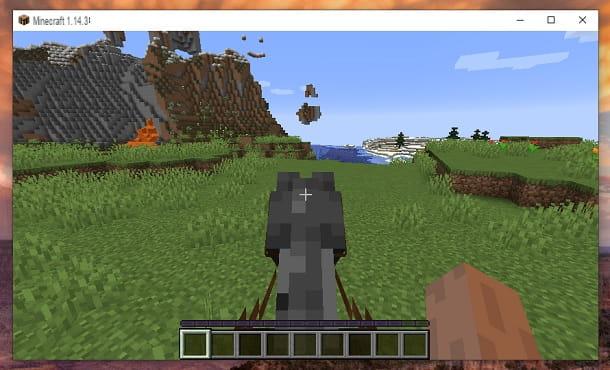
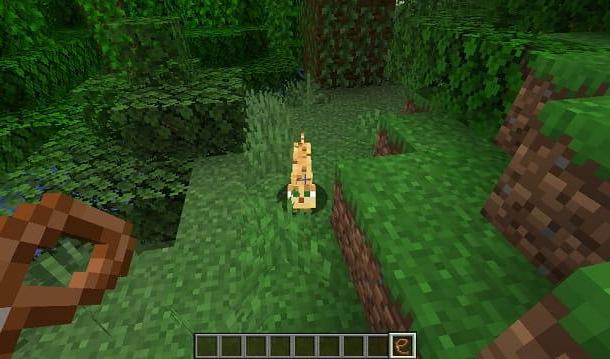
Now, leaving a block of space from the moat, dig one hole two blocks deep and place a rabbit or a chicken inside. This is necessary so that you can simulate the ropes pulling up the drawbridge. In fact, you'll need to hook a leash to the animal, and then connect it to the fence that you placed at the top of the entrance to your shelter.
Before carrying out this operation, however, after putting the leash on the animal, cover the hole with some wooden steps, so that the latter cannot go out.
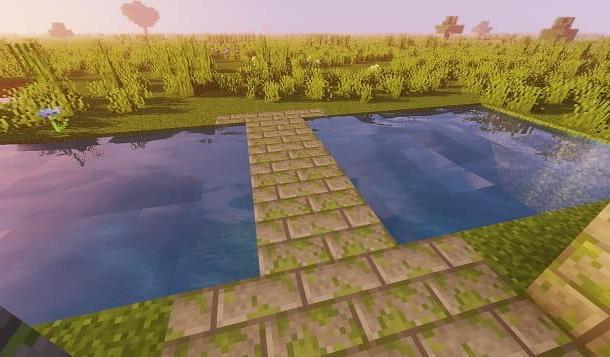
Repeat the same operation on the other side and complete the drawbridge with the last ones wooden plates to place. All you have to do is fill the moat withwater or of washed, to complete your project.
Build an automatic drawbridge
If you want, instead, build an automatic drawbridge, so that you can activate and deactivate it as many times as you deem it appropriate, you must carefully follow the procedures that I will indicate in the next paragraphs. It will not be a bridge that you can raise and lower as it happens in reality, but it will be an equally functional project for your purpose.
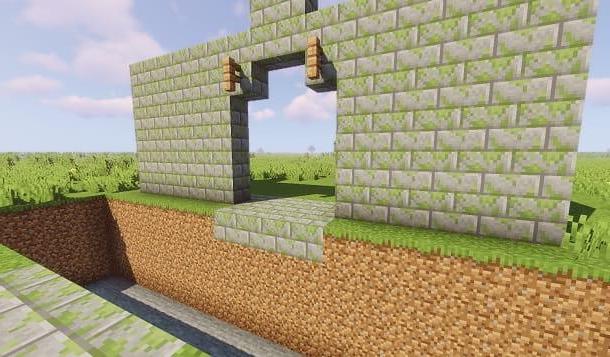
The first thing you need to do is dig a ditch in front of the entrance to your refuge. No matter how far the two sides of the moat are, the important thing is that it is deep three blocks.

Once this is done, at the bottom of the moat, place gods sticky pistons and digs too two lines of blocks on each side, right next to the pistons. In the latter, you have to place a line of redstone repeaters, which will serve to operate the pistons, connected together by a line of redstone.

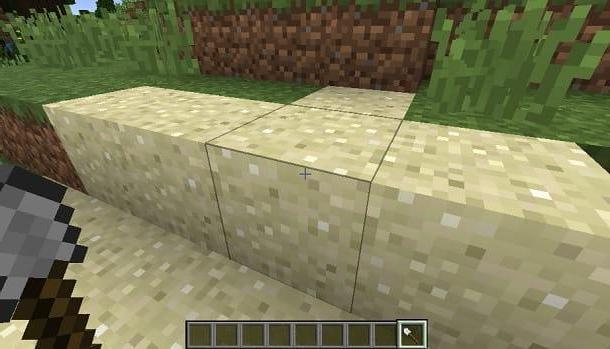
At this point, add gods blocks of any material on the sticky pistons, which will be the walkable base of the bridge, when you activate it.
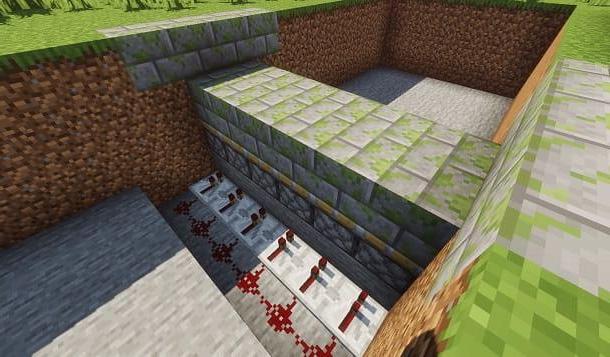
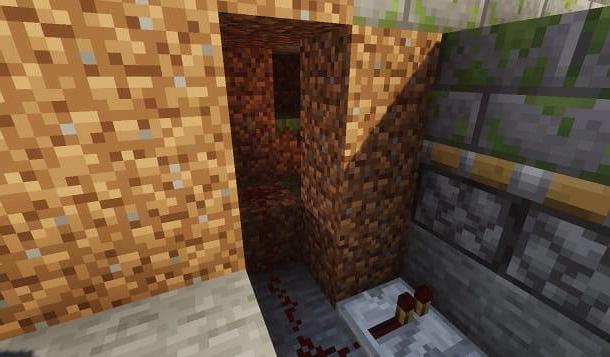
The only thing left to do is to bring the redstone circuit up to the entrance of your shelter, in order to place a leads, through which you can operate the drawbridge. To do this, dig a ladder system, starting at the bottom of the moat and taking care to connect both sides of the circuit.
Good! At this point, you are almost at the end of the project. Cover with gods blocks all the redstone circuit, so that it cannot be seen or destroyed if you fill the lava moat. Fill the moat with water or, if you prefer, say washed, helping you with a bucket.

If you have followed the instructions I have given you to the letter, you will have built a drawbridge that you can activate and deactivate using a simple leads, to be placed at the entrance, just near the end of the circuit: the same one you made using the ladder system excavated earlier. It was easy, wasn't it?
How to make a drawbridge in Minecraft