Index
- Preliminary information
- How to install shaders on Minecraft
- How to install Optifine shaders on Minecraft
Preliminary information
Prima di enter the dettaglio della procedura su how to install shaders on minecraft, I think it might interest you to know more about this possibility.
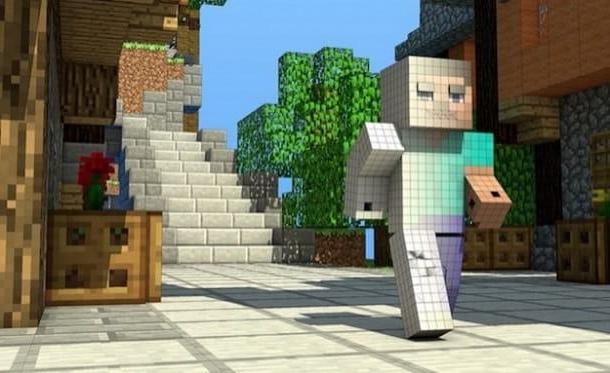
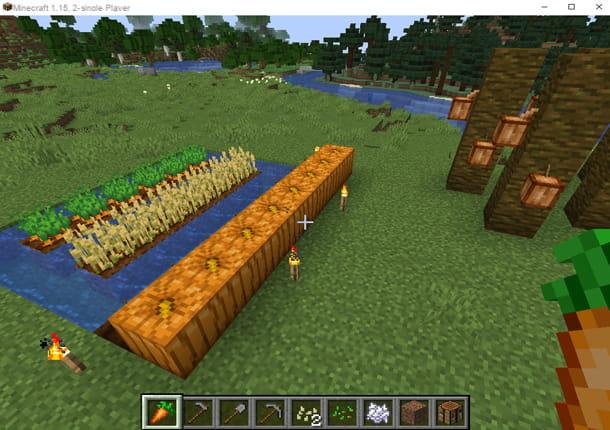
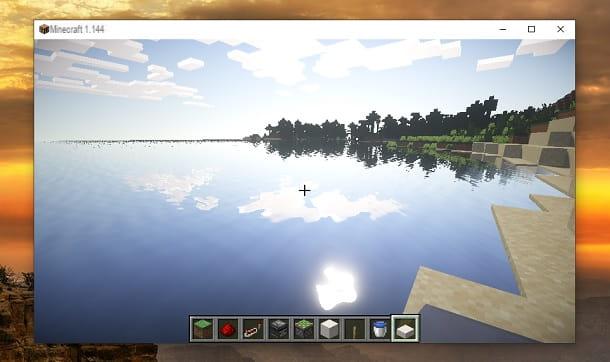
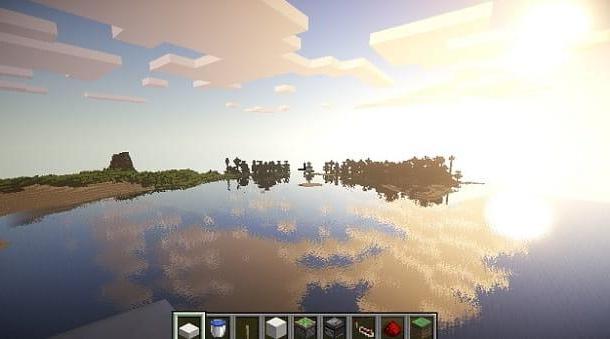
The shaders are nothing more than a "modification" designed to make Mojang's title more appealing, visually speaking. Put simply, using shaders you can get more “realistic” graphics on Minecraft, leaving behind the "cubes". Obviously the structure of the game will remain the same, but several elements will be more beautiful to look at. For example, sunlight and water reflections will come closest to that of a next-generation game.
However, shaders are not a feature implemented by developers, they are simply mods made by Minecraft fans. Put simply, these are files created by the community that can extend the possibilities of the game. You can find concrete examples of mods in my guides on how to get the cape on Minecraft (mod Advanced Capes) and how to spawn Herobrine (mod Herobrine datapack). If, on the other hand, you are interested in making a modification yourself, I recommend that you take a look at my tutorial on how to create a mod for Minecraft.
As you may have already guessed, there are therefore different types of shaders. They affect the video card differently and it is therefore recommended to have one performing configuration first install this type of mod. For example, there may be problems with Intel's integrated GPUs in some cases.
Unfortunately, I cannot be more precise with my indications, as there are no real minimum requirements, being mods created by the community. Despite this, I assure you that usually most mid-range computers are able to handle the shaders.
In case you were wondering, shaders cannot be used in the console versions of Minecraft, for example, those for PlayStation. As for smartphones and tablets, I do not recommend downloading mods for Minecraft Pocket Edition, since you have to go and modify the internal files of the game and this can compromise the whole experience.
In this tutorial, therefore, I will focus on Java version of Minecraft for Windows and macOS, that is the one in which the mods are accepted and well viewed by the community.
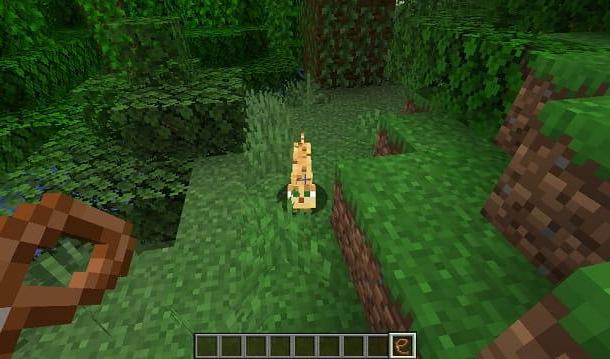
How to install shaders on Minecraft
After explaining what shaders are and how they work, I would say that you are ready to proceed with their installation. Among the most popular shaders, there are those called YOUR V10 standard, which particularly improve reflections, lights and shadows. To apply them, I will use the mod called GLSL Shaders Mod, available up to version 1.12.2 of Minecraft.
If you have a version of Minecraft equal to or lower than the 1.12.2, the first thing you need to do is connect to the 9Minecraft site, scroll the page and press the button Download from server 1 which is located under the Minecraft version that you have installed on your computer. Then press the button Download that appears on the screen, in order to start downloading the file. In case you have one of the various 1.12 versions, you will need to download both the GLSL Shaders Mod that the ASM Mod.
Once the files have been downloaded GLSL-Shaders-Mod- [version] .jar and eventually ASM-Mod- [version] .jar, you have to move them to the Minecraft folder dedicated to mods. If you are using a computer Windows, start then Minecraft launcher and press on the item PLAYS.
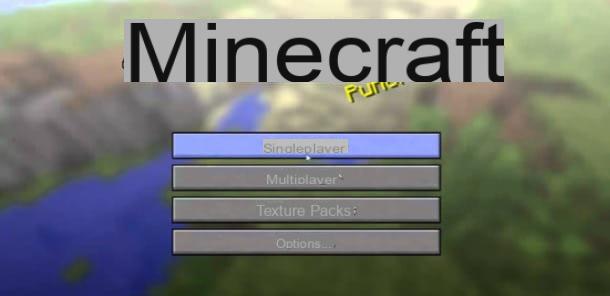
At this point, select the option Single player and first name of the main game you're playing. After that, click on the entry Modification present at the bottom left and select the item Open the world folder.
Now, tap on the item .Minecraft present at the top and open the folder called mods. Perfect, now you just have to copy / move the files with the extension jar previously downloaded and that's it. You may need to restart Minecraft for the mod installation to take effect.
If you are using a Mac, you need to copy / move the mod files to the path ~ / Library / Application Support / minecraft /. If you don't know how to access this folder, click on the item vai present in the bar at the top and select the wording Go to the folder from the menu that opens. At this point, type the path ~ / Library / Application Support / minecraft / in the window displayed on the screen and press the button Submit of the keyboard.
Perfect, now you have successfully installed the mod for the shaders. To verify that everything went right, start Minecraft and select the button Mods from the main menu.
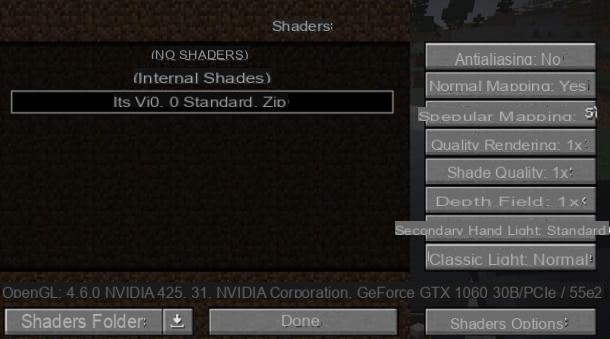
In the next screen you will find the list of installed mods and those related to shaders should also appear. Once a Partita, you should already see the new graphics applied. If not, go to the Settings of the game (by pressing the button Esc keyboard) and search for the item Shaders. Here you will find all the possible shaderpacks to apply.
In case there are no shaderpacks to apply, download the YOUR V10 from this link, click on the item Cartella shaders/Open shaderpacks folder and select il zip file that you just downloaded.
In some cases, you may need to use the profile to install these mods Forge, a well-known utility dedicated to Minecraft mods. If you don't know how to install it, you just have to go to the official Forge website and click on the entry Installer. You may also need to press the orange button Show all Version, depending on the version of Minecraft you are playing with.
Once the download is complete, open the file forge- [versione] -installer.jar just downloaded, select the item Install Client I awarded her OK. Great, now the system will automatically install the Forge profile. At this point, you just have to start Minecraft launcher, press onicona della freccia verse il basso present next to the button PLAYS and select the profile Forge, to enable it.
How to install Optifine shaders on Minecraft
How do you say? You have one of the latest versions of Minecraft and the GLSL Shaders Mod is not compatible? Don't worry: it has been integrated in the latest versions of the Optifine mod and so you just need to install the latter to have the shaders.
To proceed, therefore, connected to the official website of the Shaders Mod, scroll the page and press the green button Optifine_ [version] .jar, under the entry for the version of Minecraft you have installed on your computer. After that, click the button Download that appears on the screen.
Perfect: now you just have to open the file with the extension jar just downloaded and press the button install. Then press the button OK and start Minecraft as you usually do. Remember to click on theicona della freccia verse il basso present next to the button PLAYS and select the profile Optifine, in order to start the game with the shaders already installed.
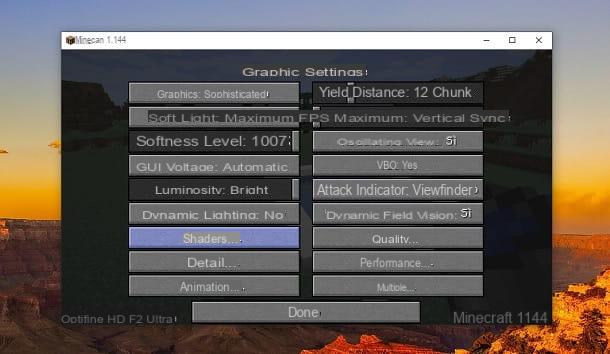
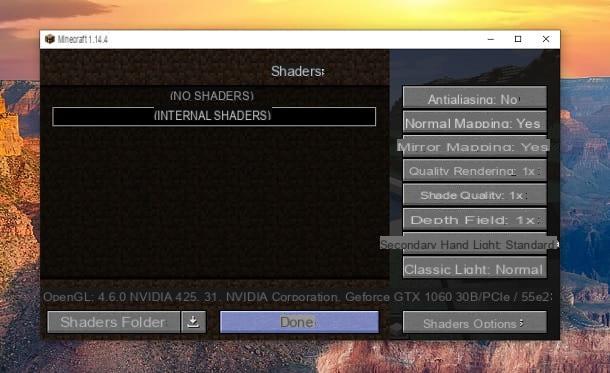
At this point, I premi sulla voce Single player and start one Partita. Once in the game, press the button Esc on the keyboard and select the item options from the menu that opens. After that, click on first Graphics and then Shaders and press on the item SHADERS INTERNAL on the left, so you can click the button Done. Perfect, you have now successfully installed the shaders in Minecraft.
In case you don't like the shaders set by default, I suggest you download the shaderpack YOUR V10 from this link, click on the button Shaders folder present in the card Shaders of the Settings and copy the zip file just downloaded in the folder that appears on the screen.
Then select the item YOUR v.10.0 Standard.zip on the left and press the button Done. Great, now the graphics of Minecraft will be significantly improved. If you need more details on mods, I recommend that you check out my guide on how to install mods on Minecraft.
For other versions of the shaderpack that I used in this guide, I invite you to take a look at the official SEUS website instead. From here, just press the button first DOWNLOAD which is located under the version of the shaderpack you want to download and then on the red writing DOWNLOAD. You may be asked to accept theEULA and click on the blue button DOWNLOAD.
The file that will be downloaded will have the extension zip and then you can use it as I explained earlier. However, I remind you that the updated versions of the shaderpack may compromise the performance of the game, as they add more detailed shadows, lights and elements.
How to install shaders on Minecraft