Index
- How to dedicate more RAM to Minecraft new launcher
- How to dedicate more RAM to Minecraft on PC
- How to dedicate more RAM to Minecraft servers
How to dedicate more RAM to Minecraft new launcher
You downloaded the Java Edition of Minecraft and, now, you are curious to know if it is possible to dedicate more RAM to the game using the new launcher. Well, the answer is yes: in practice, it is necessary to create a new installation of the game, setting a particular parameter that "instructs" the launcher to allocate more memory to the Java Virtual Machine (which, in fact, is the engine that runs the game).
On the surface it may seem like a complex thing, but let me tell you: it's not at all! You just have to pay attention to the amount of RAM you intend to reserve for Minecraft: consider the total amount of physical memory at your disposal and set a safety limit, that is, a minimum amount of memory to be left free for the operating system, to avoid blocking it (eg 4 GB).
Data in hand, on a computer with 8 GB of RAM, you can allocate at most 4 GB of memory to the game. In principle, remember to do not dedicate more than half of your physical RAM to Minecraft available in total, as this could lead to malfunctions and freezes of the system, making the situation worse.
Keep in mind that the steps I am going to explain to you are valid for Windows, MacOS e Linux, as both the Minecraft launcher and the JVM work the same way.
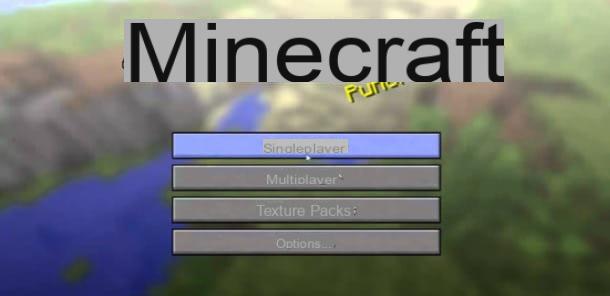
Once you've decided on the exact amount of RAM to dedicate to Minecraft, do this: start the launcher of the game, log in to your profile (if necessary) and click on the tab installations, placed at the top.
In Seguito, Premium Pulsing New… to start the creation of a new installation preset: when you reach the new screen, assign a name to the same, inserting it in the field provided (eg. Enhanced Minecraft), and select the Minecraft version reference, using the appropriate drop-down menu (if you don't know what to do, leave this option unchanged).
If you do not need further customized settings (e.g. a game folder other than the default one, or a different screen resolution), you can go to the definition of the JVM parameters: then click on the item Other options, locate the text box JVM arguments and, in particular, the string -Xmx2G, which is usually found at the beginning.
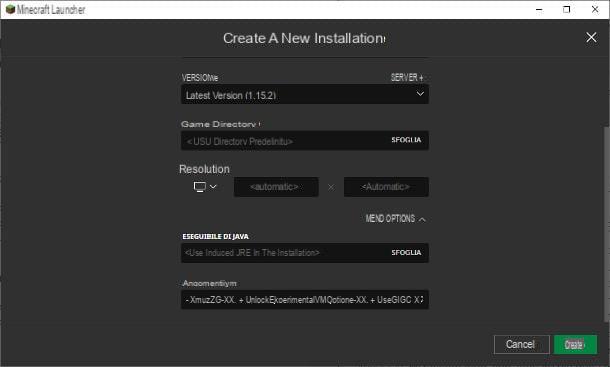
The latter, in particular, defines the maximum amount of memory to be allocated to Minecraft, in this case 2G (2 GB of RAM): Adapt this string to your case (eg. -Xmx3G to allocate 3 GB of RAM, -Xmx4G to assign 4 GB, and so on) and replace it in the aforementioned box, taking care to leave all other arguments unchanged.
When you are done, press the button Crea, to create a new preset, and that's it: to start Minecraft with the amount of RAM specified above, then go to the tab Play of the Minecraft launcher, select the item Enhanced Minecraft (or any other name you assigned to the preset) from the drop-down menu at the bottom left and, finally, click on the button Play. It was easy, wasn't it?
Note: 32-bit Java-based Minecraft does not support more than 4GB of system memory. So, if you have a 32-bit operating system (or a 32-bit JRE installation), make sure you don't allocate more than 2GB of memory to the game.
How to dedicate more RAM to Minecraft on PC
How do you say? Do you not use Minecraft in Java version but have the version of the game dedicated to Windows 10 (the one obtainable from the Microsoft Store)? If so, you can increase the game's performance by using a game booster, that is, a program capable of optimizing system performance, freeing up RAM, where possible, during the execution of a game. I admit that I don't love solutions of this type very much, but as a "last resort" you can try to rely on one of them.
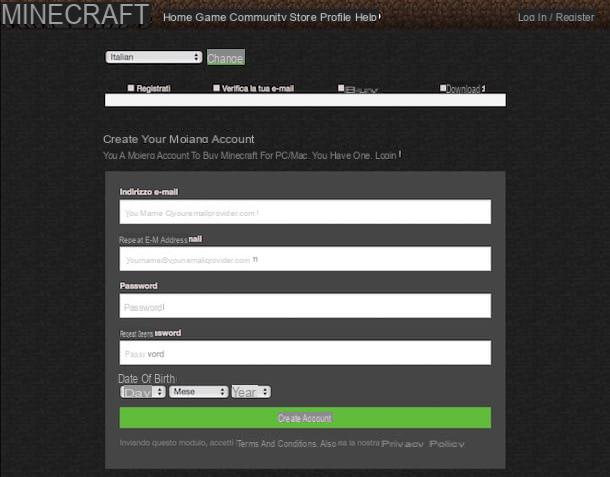
One of the best game boosters on the square is Razer cortex: it is a program dedicated to Windows 10, able to optimize RAM management while running games. To use it, linked to this web page, click on the button Download Now to immediately download the program installation file and, when the download is complete, start it.
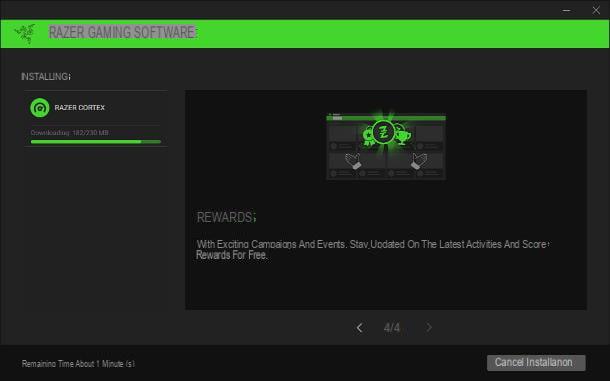
Next, make sure only program installation is selected Razer cortex (and that all other boxes are unchecked) and click on the button install to start the automatic download and installation of program components, which may take several minutes, depending on the speed of your Internet connection.
After the installation phase, click on the button Get Started! to start the software, click on the button twice consecutively Continue as guest to skip the registration to the Razer portal and, finally, click on the item (X) located at the top right, to close the initial tutorial.
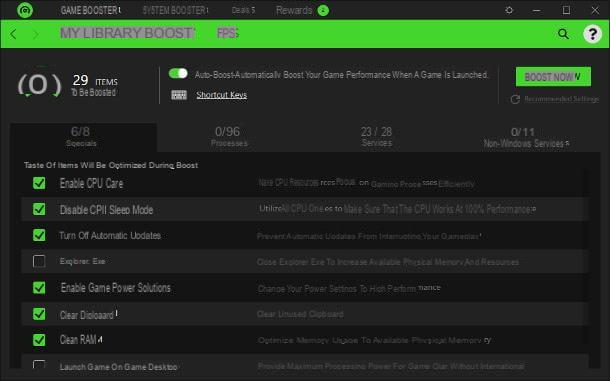
Almost there: to use the Razer Cortex, click on the tab Game Booster placed at the top, then on Boost and, depending on your preferences, choose whether to activate or deactivate the voice Auto-Boost, which allows you to analyze and upgrade your computer when starting Minecraft (or any other game). If, on the other hand, you want to start a manual upgrade, click on the button Boost Now.
If you deem it appropriate, you can also select or deselect the services to be left running or deactivated, using the special sections on the tab System Booster; however, if you are unfamiliar with this, I recommend that you leave the default settings unchanged, as you may compromise the proper functioning of Windows.
Razer Cortex is definitely one of the best useful programs to dedicate more RAM to Minecraft, but it is certainly not the only one: I told you about other good software of this type in my guide on how to dedicate more RAM to a game.
How to dedicate more RAM to Minecraft servers
Have you built a server on which you usually host a Minecraft server but, over time, have you realized that the amount of memory allocated to it is always too low? If so, you can dedicate more RAM to Minecraft servers using the same "trick" seen previously for Minecraft Java Edition: what you have to do is start the .jar server using a special launcher, specifying precise parameters that lead Java to assign more memory to the server.
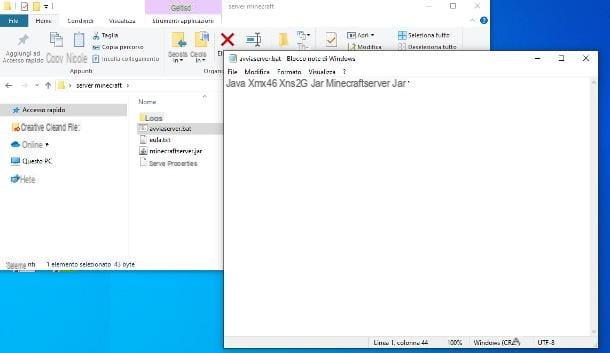
Ready to get started? Very well. If your server is hosted on a Windows computer, start the Block notes (you can find it in the folder Windows Accessories from the menu Home), click on the menu File> Save As ... and, after selecting the folder that contains the Minecraft server launcher as the save path, move the drop down menu Save eat: on the item All files and save the file giving it the extension . Beat (e.g. start.bat).
Now, insert the java command into the text file -XmxYG -XmsZG -jar fileDelServer.jar, replacing the Y e Z, respectively, the maximum and minimum amount of RAM to be assigned to the server (in GB). For example, if you want to run a server that uses a minimum of 1 GB of RAM and a maximum of 4 GB, you must enter the string java -Xmx4G -Xms2G -jar fileDelServer.jar. If you prefer to start the server without its GUI, specify the parameter noguiat the end of the command seen above.
At this point, save everything (menu File> Save), exit Notepad and start the server by double clicking on the file you just created. Easy, right?
The steps to create a "modified" executable on MacOS they are quite similar: first, start TextEdit (you can find it in the folder Applications Mac) and type the following text into it.
#! / Bin / bash
cd "$(dirname "$0")"
exec java -Xmx4G -Xms2G to leave nomeServer.jar
Remember to customize the minimum and maximum amount of RAM to be assigned as seen above and to specify the exact name of the Minecraft server executable. If you are interested in starting the server without a GUI, add the parameter nogui at the end of the line starting with exec.
Now, go to the menu File> Save, save the file inside the same folder that contains the Minecraft server and assign an arbitrary name, to which you need to add the extension .command (With art. start.command).
At this point, you need to assign execute permissions to the file you just created: to do this, start the terminal macOS (you can find it in the Other Launchpad), type the command chmod a + x and drag the previously created file into the window to automatically insert the path. Finally, press the key Submit keyboard. Now, you just have to start the Minecraft server by double clicking on the start.command file created earlier.
How to dedicate more RAM to Minecraft